You reached this page because you have purchased one of our plugins. We created this page to help you install and setup the plugin on our site. Some plugins are simple to install and set up, while others take more time.
Please choose the plugin you have purchased below in order to see how you can set it up.
We work hard to provide accurate information for our plugins. If you find any inconsistencies, please let us know.
This plugin has a dedicated page for install and set up. It takes a bit of time to get running.
The attachment search filter plugin is a helper plugin that removes a feature WordPress included in the 6.7 release.
After the purchase, you can download the plugin from your emailed order details or go into the customer dashboard and download it from there.
The plugin should download as a zip folder. Leave it zipped.
Go into your WordPress dashboard, then go to Plugins > Add New Plugin, then click the “Upload Plugin” button at the top. Pick the zip folder you just downloaded and hit “Install Now”. Now hit “Activate Plugin”
Once activated, in the WordPress left sidebar menu, there will be a new menu item called “Editor Search Filter License”. Click into this and input your license key. The license key is in the order email you received or in your customer dashboard.
Input the license key and hit “Activate License”
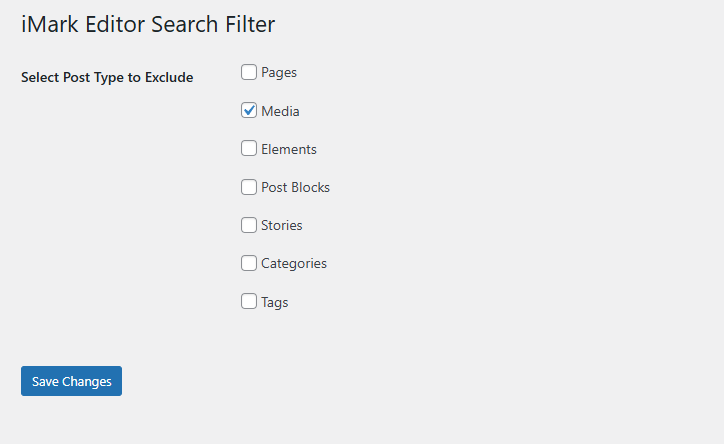
Now you will have a new Menu called “Editor Search Filter”.
You will have a new page with options of what you want to exclude from the internal search for links. These include media (attachments) by default and then pages, categories, and other custom post types found on your site.
The noindex report plugin is a simple to use report that allows you at any time to scan your site for posts, pages, and categories to see what have been set to noindex in your SEO plugin.
The plugin supports noindex data from Yoast, RankMath, and All in One SEO.
To install the plugin, download it from your iMark order email or from the customer dashboard. It will download as a zip folder.
Go to your dashboard, then Plugins > Add New Plugin. Click the “Upload Plugin” button and choose the zip folder you just downloaded from your computer. Click “Install Now” and then activate.
Once activated, under Settings, there will be a “iMark – Noindex Post Exporter” option. Go there and insert the license you received in your order email. Click activate license.
Once activated, there will be a “Noindex Report” menu item. Click that to access the report.
Click on “Refresh Report” at any time to run the report and the information will be broken out into posts, pages, and categories.
The report includes the Title, Published Date, and links to view the URL and edit.
You can run the report at any time you want this information.